Computer Science Wireless Local Area Network (WLAN) — Setting Up Windows 7 Certificates
- Download the Comodo Certificate Chain from here
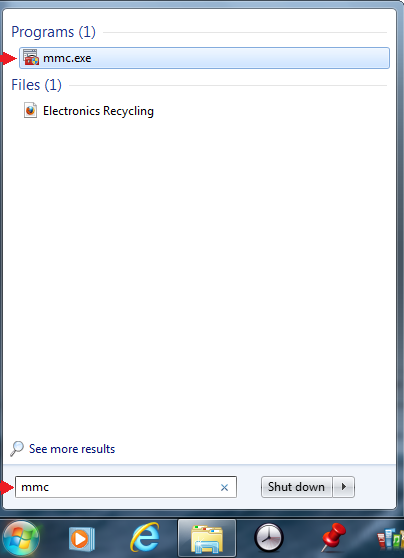
Please confirm the MD5 Checksum: 3ad2af51225e457ff854c908f4388cfe - Click Start and type mmc in the search bar then click mmc.exe
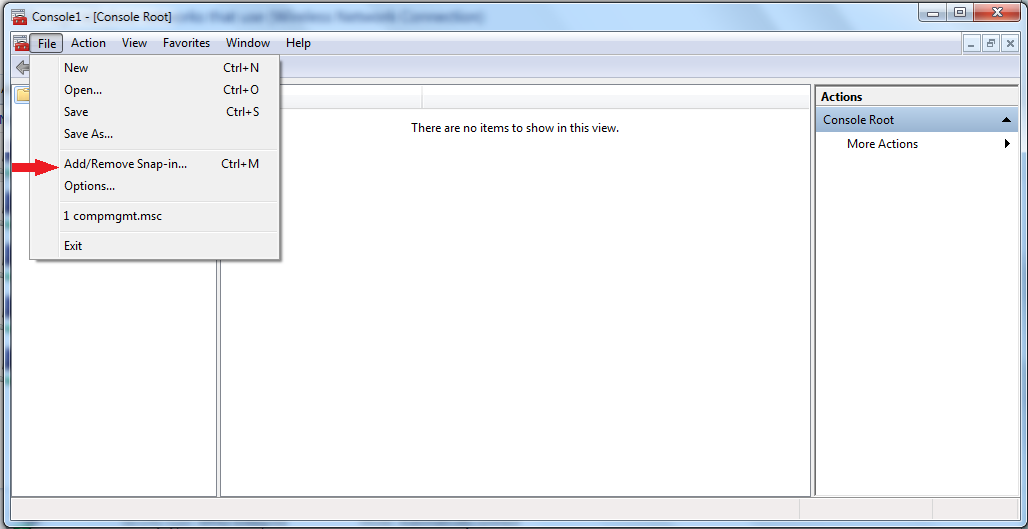
Please note: This must be run as an administrator. Right click and select Run as Administrator - Click File and select Add/Remove Snap-in… (Ctrl+M)
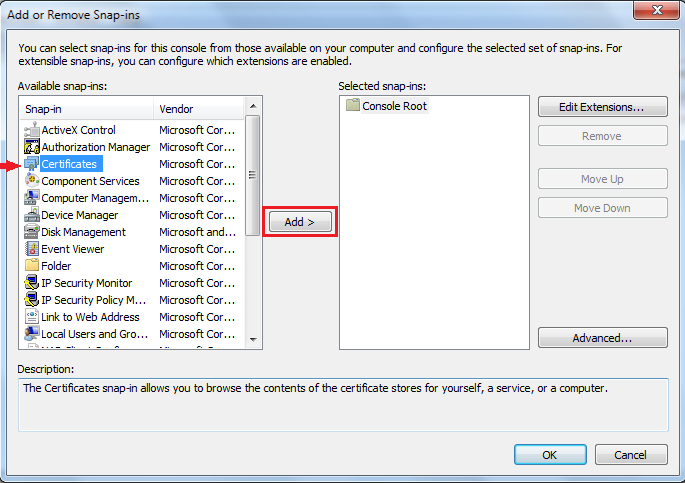
- Highlight Certificates from Available snap-ins then click Add> after you have added click Ok
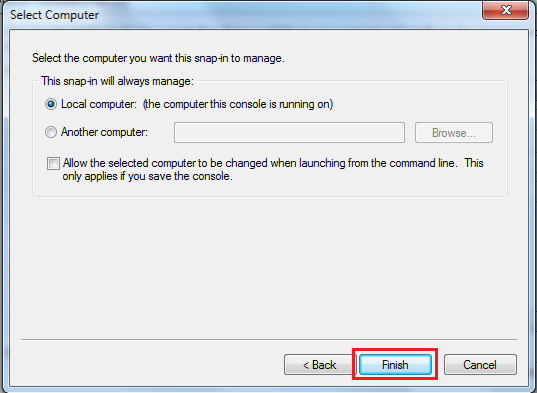
- Select the Computer account radio button then click Next>
- Select the Local computer radio button then click Finish>
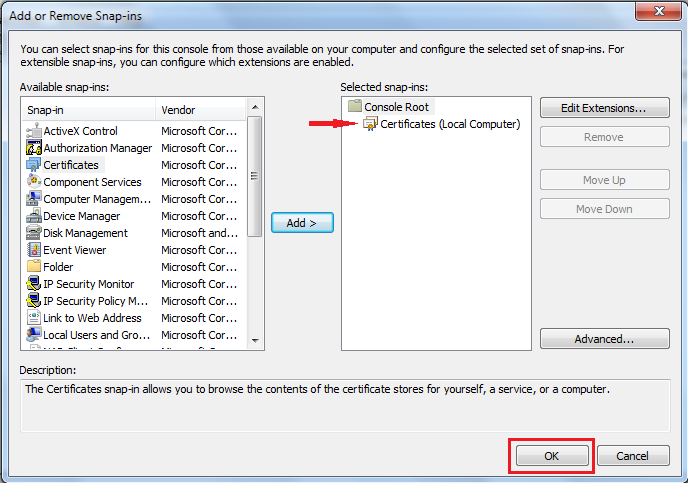
- You should now be back to Add or Remove Snap-Ins on the right hand side, under selected snap-in check that Certificates (Local Computer) has been added. If it is there, click Ok
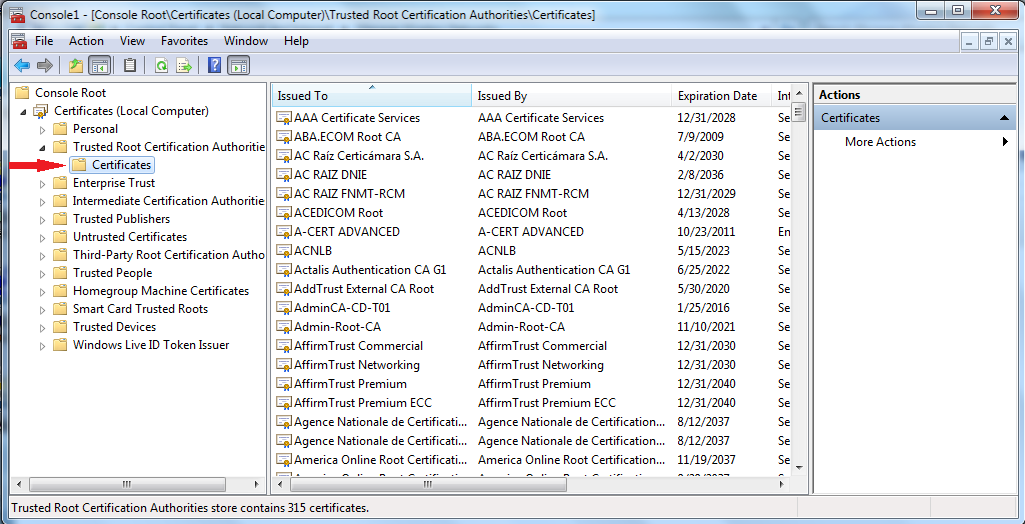
- You should now be back to the mmc Console on the left hand side navigate the file hierarchy under your new Certificates (Local Computer) Console Root -> Certificates (Local Computer) -> Trusted Root Certification Authorities -> Certificates
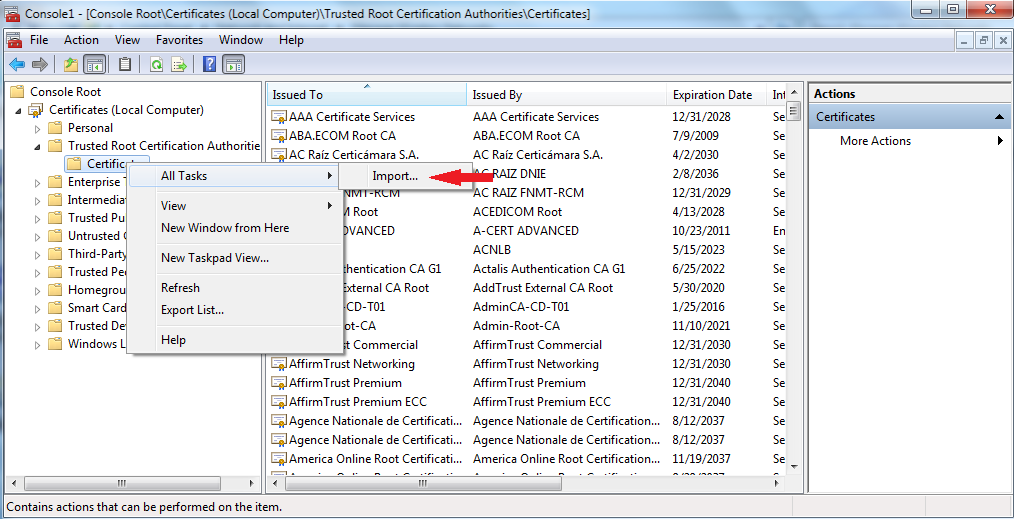
- Right click on Certificates and select All Tasks->Import…
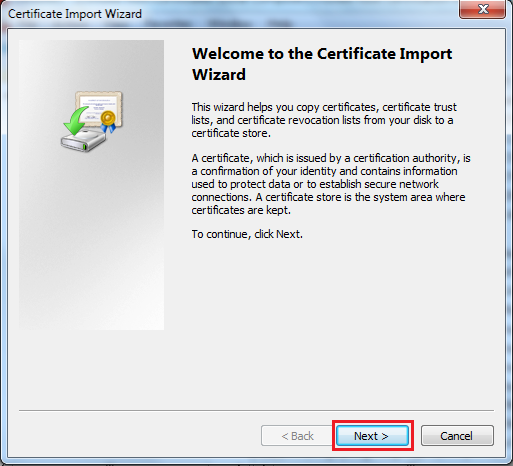
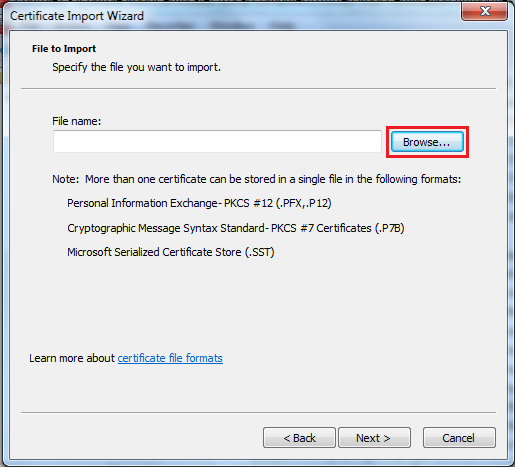
- The Certificate Import Wizard should open. Click Next >
- Next to the File name field click Browse…
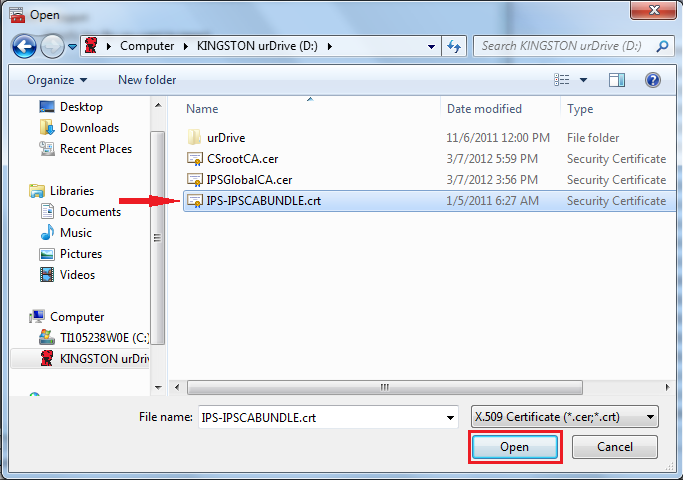
- Navigate to the directory where you saved the Comodo certificate that you downloaded in step 1 and click Open
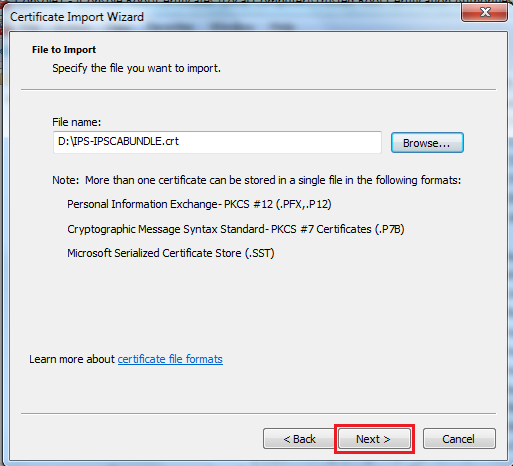
- You should now be back to the Certificate Import Wizard click Next >
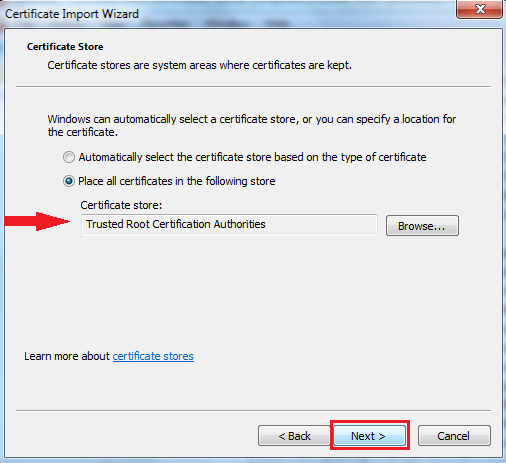
- Select the Place all certificates in the following store radio button and set the Certificate store as Trusted Root Certification Authorities then click Next >
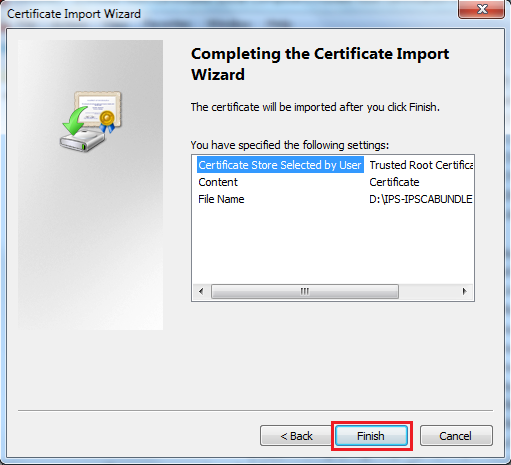
- Review the certificate import setting and click Finish
- You should now have successfully imported the Comodo certificates
- Continue our guide for connecting to the CSWLAN